Simulate custom location iOS simulator(Simulator, GPX)
This page has moved to programmingwithswift.com

In this post I will show you a couple of methods on how you can simulate custom/different locations on the iOS simulator.
Being able to add custom locations means that you can easily test to see if your app is working correctly when using you are using Core Location. By default Xcode has a few locations that you can use, which is great, but custom locations will allow you to potentially test more complex situations in your applications.
Simulator
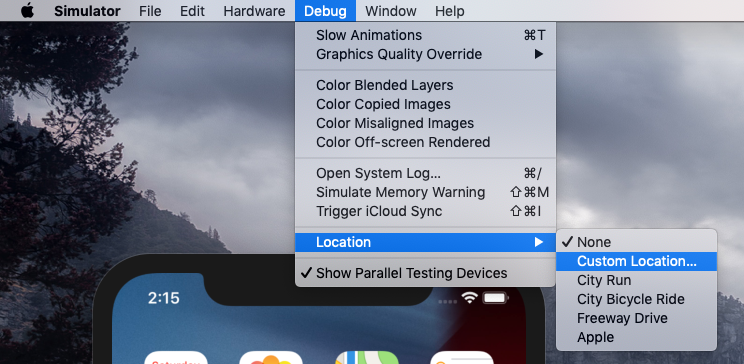
To set a custom location in the Simulator you will need to start up the simulator. Once it is started, click on the Debug item in the simulator menu bar.

Now hover over Location and click on Custom location
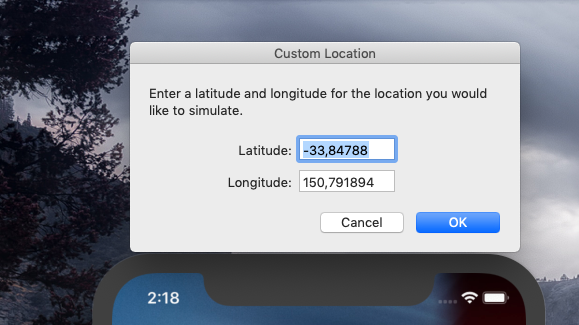
You will now be able to set a custom location by entering the latitude and longitude of the location you want to simulate.
Custom location with GPX file - A better way to do it
This is the best way to add custom locations. It will allow you to add many different ones. Add custom locations in this way also makes it much easier to switch to different locations while the app is running on the simulator.
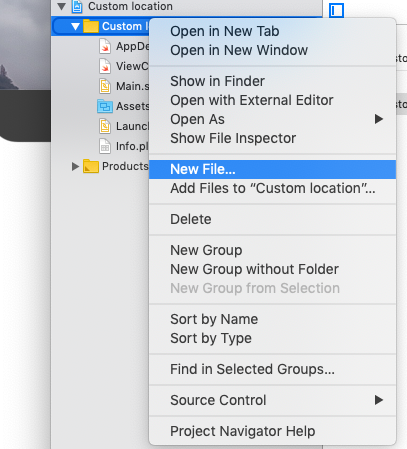
Create a new file in your project
Select GPX File
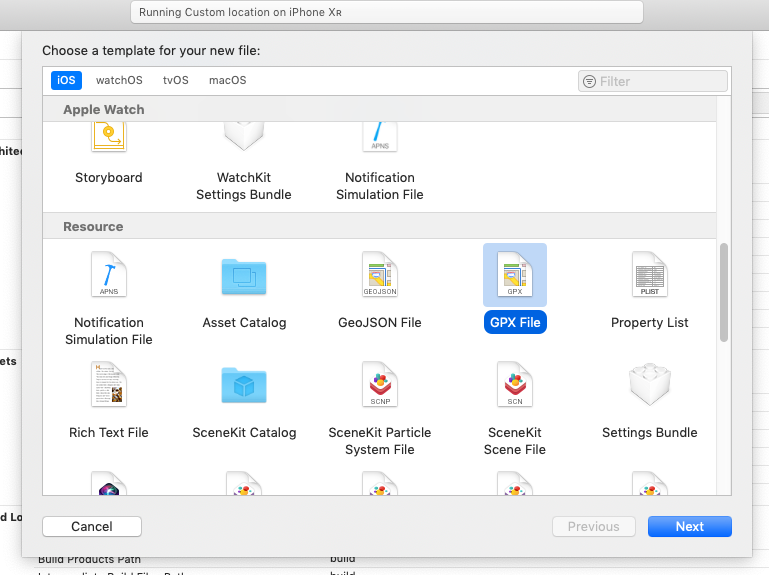
Make sure to name it with the location you adding to it. This will become clear later on in the post.
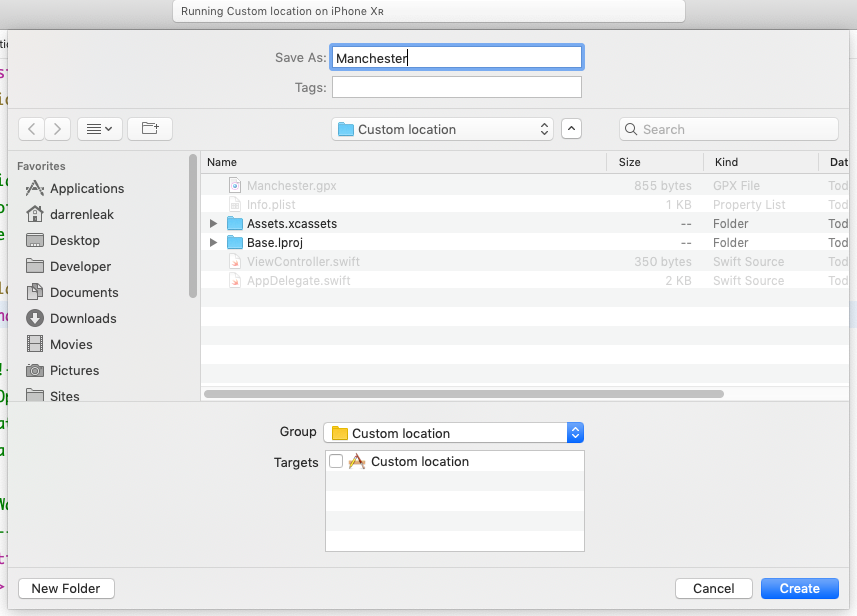
Update the file with the coordinates you want and update the name of the location.
 1
 2
 3
 4
 5
 6
 7
 8
 9
10
11
12
13
14
15
16
17
18
19
20
21
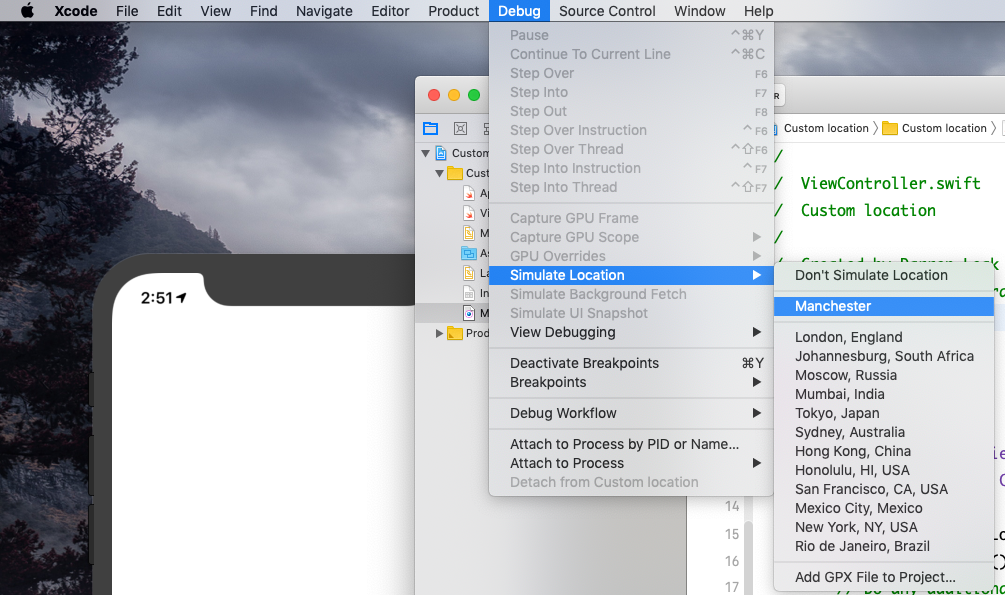
<?xml version="1.0"?> <gpx version="1.1" creator="Xcode"> <!-- Provide one or more waypoints containing a latitude/longitude pair. If you provide one waypoint, Xcode will simulate that specific location. If you provide multiple waypoints, Xcode will simulate a route visiting each waypoint --> <wpt lat="53.4803732" lon="-2.2449338"> <name>Manchester</name> <!-- Optionally provide a time element for each waypoint. Xcode will interpolate movement at a rate of speed based on the time elapsed between each waypoint. If you do not provide a time element, then Xcode will use a fixed rate of speed. Waypoints must be sorted by time in ascending order. --> <time>2014-09-24T14:55:37Z</time> </wpt> </gpx>Go to Xcodes menu bar and click Debug
Next you need to hover over Simulate location
You should see the custom location that you have added. This is why it was important to give the file the name of the location, otherwise it will be difficult to distinguish between multiple locations if their file names have vague names.
Conclusion
I hope that you found this tutorial useful, if it did, feel free to share it or to subscribe to my youtube channel